ionic4+angular7+cordova上传图片功能的实例代码
- 作者: 重溶日月-
- 来源: 51数据库
- 2021-07-12
前言
ionic是一个垮平台开发框架,可通过web技术开发出多平台的应用。但只建议开发简单应用。复杂的应用需要用到许多cordova插件,而cordova插件的更新或者移动平台的更新很可能导致插件的不可用,维护升级成本较高。
安装插件
安装插件image picker
$ ionic cordova plugin add cordova-plugin-telerik-imagepicker
$ npm install @ionic-native/image-picker
安装插件file transfer
$ ionic cordova plugin add cordova-plugin-file-transfer
$ npm install @ionic-native/file-transfer
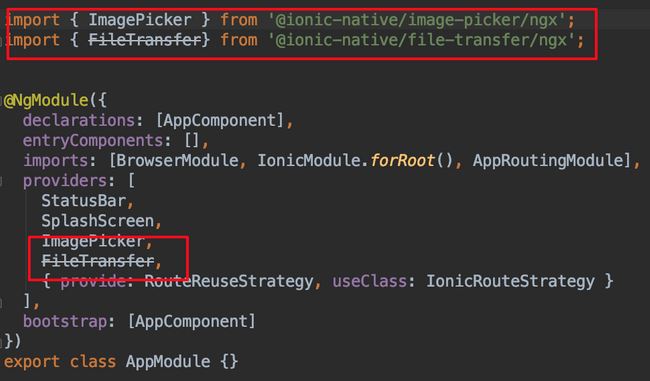
添加到app.module.ts
import { imagepicker } from '@ionic-native/image-picker/ngx';
import { filetransfer} from '@ionic-native/file-transfer/ngx';
html添加控件
<ion-button (click)="chooseimage()">上传图片</ion-button>
编辑ts文件
export class uploadpage {
  constructor(
    private imagepicker: imagepicker,
    private transfer: filetransfer
  ) {
  }
  // 选择图片,选择完成立即上传
  chooseimage() {
    const options = {
      maximumimagescount: 1
      // width: int,
      // height: int,
      // quality: int (0-100),
      // outputtype: int
    };
    this.imagepicker.getpictures(options).then((results) => {
      for (const res of results) {
        this.upload(res);
      }
    }, (err) => {
    });
  }
  // 上传文件
  upload(file) {
    const filetransfer: filetransferobject = this.transfer.create();
    const options: fileuploadoptions = {
      filekey: 'file',
      filename: timestamp() + '.jpg',
      params: {
        type: 'file',
        action: 'upload',
        timestamp: timestamp(),
        auth_token: '79e1bd1504962034c068461d58b9cd89a1d8a4a1'
      },
      headers: {}
    };
    filetransfer.upload(file, 'http://www.51sjk.com/Upload/Articles/1/0/261/261975_20210702002026325.com', options)
      .then((data) => {
        alert('success');
      })
      .catch((e) => {
      });
  }
}
最终效果

总结
以上所述是小编给大家介绍的ionic4+angular7+cordova上传图片功能的实例代码,希望对大家有所帮助
推荐阅读
热点文章

Angular中响应式表单的三种更新值方法详析
7
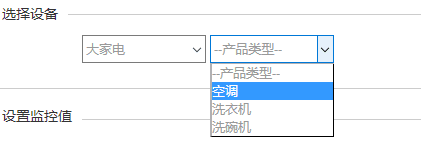
Angularjs实现下拉框联动的示例代码
7
详解AngularJS跨页面传值(ui-router)
2
详解AngularJS1.x学习directive 中‘& ’‘=’ ‘@’符号的区别使用
3
angular2路由切换改变页面title的示例代码
4
Angular2 组件间通过@Input @Output通讯示例
5
Angularjs中ng-repeat的简单实例
3
AngularJS 中ui-view传参的实例详解
4
浅谈Angular路由守卫
4
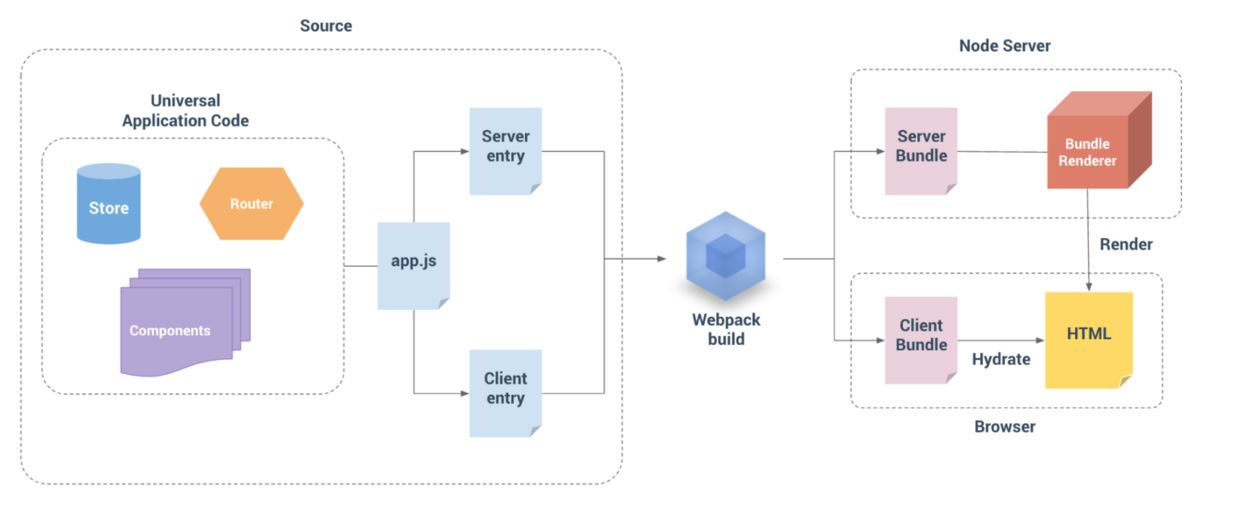
详解基于Angular4+ server render(服务端渲染)开发教程
4
