Angular封装WangEditor富文本组件的方法
- 作者: 游走的流浪汉
- 来源: 51数据库
- 2021-08-06
这篇文章主要介绍了Angular封装WangEditor富文本组件,得益于Angular的强大,封装WangEditor组件非常简单,需要的朋友可以参考下
富文本组件是web程序中很常用的一个组件,特别是要开发一个博客,论坛这类的网站后台。
得益于Angular的强大,封装WangEditor组件非常简单
1.使用yarn或者npm安装wangeditor
yarn add wangeditor
2.创建一个Angular的组件
ng g c q-wang-editor
3.封装组件逻辑
3.1 模板
<div #wang></div>
3.2 ts逻辑
import { Component, ElementRef, EventEmitter, Input, OnDestroy, OnInit, Output, ViewChild, ViewEncapsulation } from '@angular/core';
import { ControlValueAccessor } from '@angular/forms';

import E from "wangeditor"
import hljs from 'highlight.js'
import "node_modules/highlight.js/styles/xcode.css"

@Component({
  selector: 'q-wang-editor',
  templateUrl: './q-wang-editor.component.html',
  styleUrls: [
    './q-wang-editor.component.less',
    '../../../../../node_modules/highlight.js/styles/xcode.css'],
  encapsulation: ViewEncapsulation.None,
})
export class QWangEditorComponent implements OnInit, ControlValueAccessor,OnDestroy {

  @ViewChild("wang")
  editor!: ElementRef;

  @Input() value: string = '';

  @Input() height = 300;

  @Output() valueChange = new EventEmitter();

  onChange: ((value: string) => {}) | undefined;

  html = ''

  wangEditor: E | undefined;

  constructor() { }
  ngOnDestroy(): void {
    this.wangEditor?.destroy();
  }
  writeValue(obj: any): void {
    this.html = obj;
    this.wangEditor?.txt.html(this.html)
  }
  registerOnChange(fn: any): void {
  }
  registerOnTouched(fn: any): void {
  }

  ngOnInit(): void {
    setTimeout(() => {
      this.wangEditor = new E(this.editor.nativeElement)
      this.wangEditor.config.zIndex = 500;
      this.wangEditor.config.height = this.height
      this.wangEditor.highlight = hljs;
      this.wangEditor.config.onchange = (html: any) => {
        this.valueChange.emit(html)
        if (this.onChange) {
          this.onChange(html);
        }
      }
      this.wangEditor.config.onchangeTimeout = 500;
      this.wangEditor.create();
      this.wangEditor.txt.html(this.html)
    }, 200);
  }

}
大致思路:
- 使用ViewChild引用html的dom元素
- 在OnInit的成功后,初始化WangEditor编辑器,把模板中的ElementRef放入到WangEditor的容器中去,让WangEditor去控制界面的dom操作。
- 实现ControlValueAccessor,让这个组件支持Angular的表单验证。
- 实现ngOnDestroy,组件在销毁的时候,调用WangEditor的destory
4.使用组件
<q-wang-editor [height]="550"></q-wang-editor>
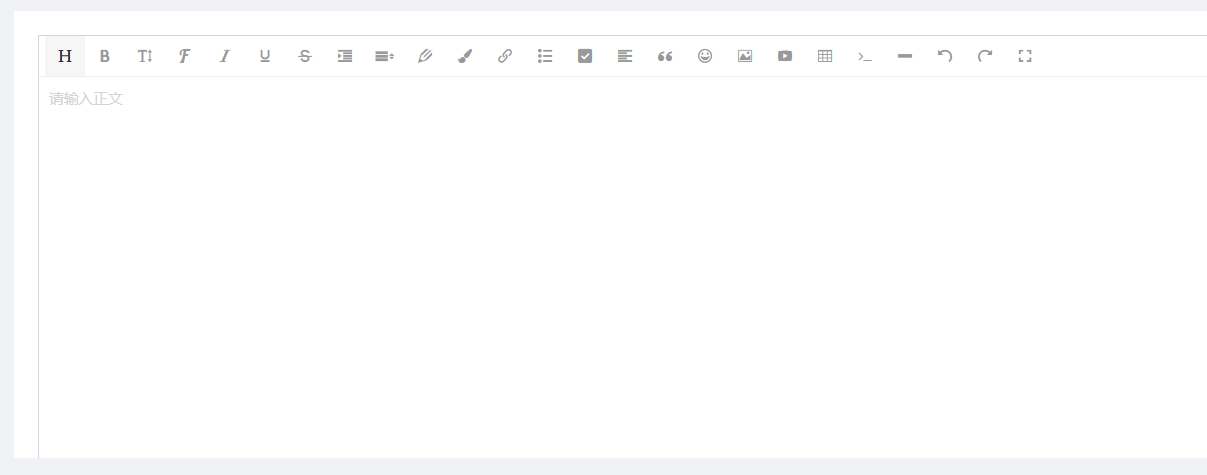
5.效果预览
6.最后
一个WangEditor的Angular组件封装就基本完成了。如果需要更多功能,比如图片上传,等可以再根据自己的需求增加功能即可
到此这篇关于Angular封装WangEditor富文本组件的文章就介绍到这了,更多相关Angular WangEditor富文本组件内容请搜索以前的文章或继续浏览下面的相关文章希望大家以后多多支持!
推荐阅读