AngularJS创建一个上传照片的指令实例代码
- 作者: 八卦八股
- 来源: 51数据库
- 2021-08-15
angularjs在近几年发展火热,也无疑是目前市面上来说比较牛逼且成熟的框架,在单页面前端应用当中应该可以说是王者,双向绑定省去了大量的前端代码,控制器在其作用于方面的控制也是相当腻害,今天我们要说的是另外一个比较牛逼的功能,就是angularjs的指令directive,之前没听说过angularjs指令的朋友请自行度娘,随便搜一条文章都比我说的详细,这次用一个我自己写的图片上传的指令来做为案例,详细说明一下实际操作过程中的指令。
之前我们前端的附件上传用的是jqueryfileupload,每次使用都要在页面把样式画好,然后再控制器中初始化upload组件,上传成功或失败时候还要做相应的处理,这样每次写一个附件上传都要写代码去处理,这样很重复劳动,所以就想利用angularjs的指令把重复劳动的环节给去掉,具体代码如下:
.directive('imageupload',['constants',function(constants){
return {
  restrict: 'e',
  scope: {
    scopemodel:'=',
    title:'@'
  },
  template : '<fieldset>'
      +'<legend>{{title}}<span class="fileinput-button"><span>重新上传</span>'
      +'<input type="file" name="file"></span></legend>'
      + '<span class="profile-picture">'
      + '<img class="img-responsive" alt="{{title}}" ng-src="{{loadimg(scopemodel)}}" style="display: block;"/>'
      + '</fieldset>',
  link : function(scope, element, attrs) {
    $(element).fileupload({
      url: 'file/upload',
      datatype: 'json',
      done: function(e, data) {
        var res = data.result;
        if(res.success){
          scope.scopemodel=res.data.filekey;
          scope.$apply();
        }
      }
    });
    scope.loadimg=function(key){
      if(undefined==scope.scopemodel || null==scope.scopemodel || scope.scopemodel===''){
        return $.ctx+'/images/noimage.jpg';
      }
      if(scope.scopemodel.indexof('http://')>-1){
        return scope.scopemodel;
      }
      return $.ctx+'/file/getfile?filekey='+scope.scopemodel;
    }
  }
};
}]);
指令完成之后在前端页面上只需要写一行代码就可以完成照片的加载(如果是修改页面需要加载出原照片)和上传功能,其中scopemodel是用来双向绑定的,在调用的时候把controller中的model传递进去之后可以实现指令和controller之间的双向绑定,代码中的template为element模板,可以根据具体的样式自己更换(我用的是bootstrap),使用如下:
<image-upload scope-model="imagepath" title="照片上传"></image-upload>
总结
以上所述是小编给大家介绍的angularjs创建一个上传照片的指令实例代码,希望对大家有所帮助
推荐阅读
热点文章

Angular中响应式表单的三种更新值方法详析
7
Angularjs实现下拉框联动的示例代码
7
详解AngularJS跨页面传值(ui-router)
2
详解AngularJS1.x学习directive 中‘& ’‘=’ ‘@’符号的区别使用
3
angular2路由切换改变页面title的示例代码
4
Angular2 组件间通过@Input @Output通讯示例
5
Angularjs中ng-repeat的简单实例
3
AngularJS 中ui-view传参的实例详解
4
浅谈Angular路由守卫
4
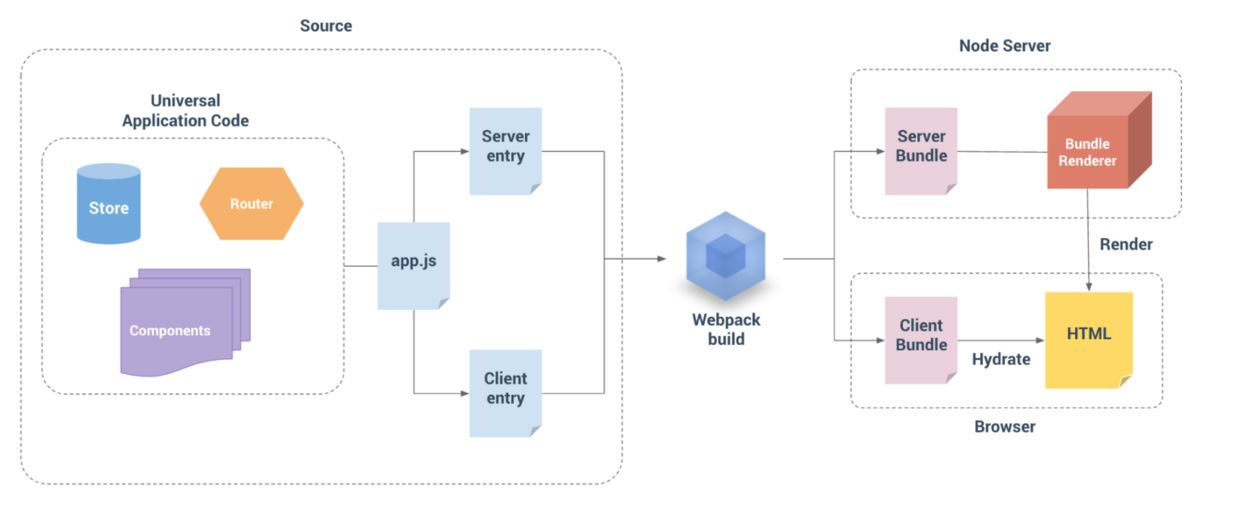
详解基于Angular4+ server render(服务端渲染)开发教程
4
